

Organizing is a passion of mine and yet even this drawer always ends up a jumbled up mess. Over and over I have tidied it up but it never seems to last long. While there are drawer organizers you can purchase they tend to be pricey and never fully utilize all the purposes that you need them to. Instead of running off to the store and buying a drawer organizer to fit some of the stuff, I decided to try to make my own for free. Yes free! All of the materials I used were old boxes that would have been thrown in the recycle bin and the tools were literally already in the drawer.
Materials:
- Cardboard Boxes
- A Pen
- Scissors
- Handheld Stapler or Tape
Step #1:
Take EVERYTHING out of the drawer and place items into categories. For instance all the batteries together, tools together or similar items such as binder clips, push pins, and paperclips together.
Step #2:
Find a base line, this will be the height of all of the boxes. For my base line I used the cornbread muffin box by simply cutting off one side.
Step #3:
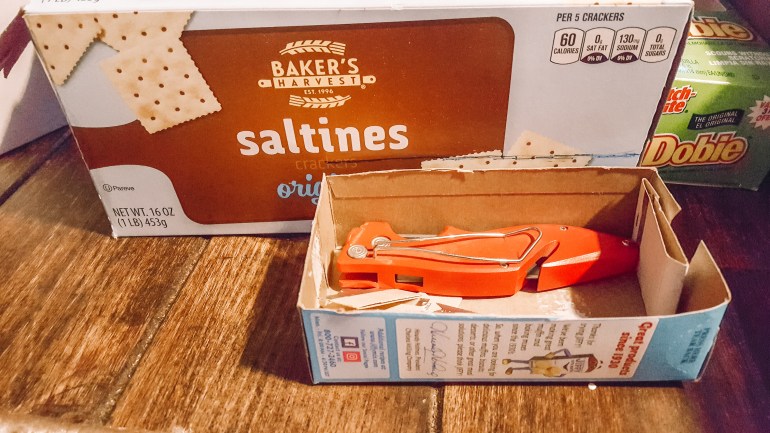
Now it is time to make the boxes. Figure out what the longest item of each category is, this will determine how large of a box to choose for each one. Brainstorm which boxes you will use for each item. At the beginning I knew the Saltines box would be used for the scissors since they were my largest item and it was my largest box on hand.
The overall goal is to create a functional system which means that the sections need to utilize space smartly and fit the overall dimensions of the drawer. What I mean by this is, if you simply create customized drawers to fit each item there will be free floating space which creates the same issues as before, mass clutter. So how do you accomplish this well? Go one at a time and place the boxes into the drawer. This will help you visualize how much access space each box may need.
Step 4:
For smaller items such as wire ties and locks, you may not be able to simply trim off the top of a box. So… how do you create your own, well that’s easy. Take an excess piece of cardboard, use another box to create the base height, I used tiny dots to create a guide.
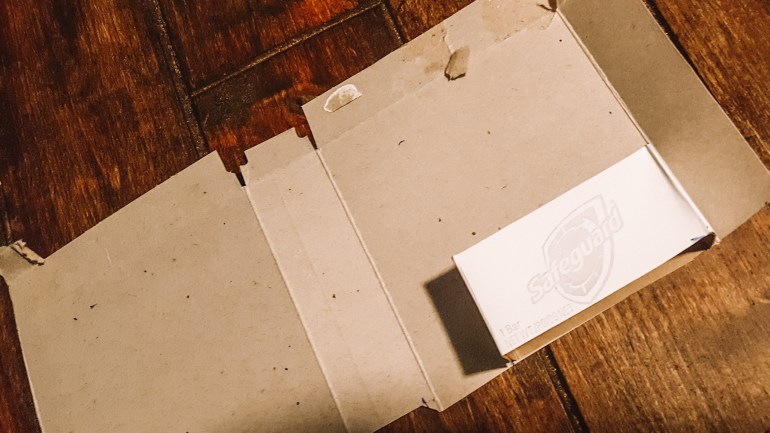
Cut out the guide and cut four slits at each corner. If you are duplicating a box simply place it inside and use it to help fold up the edges.
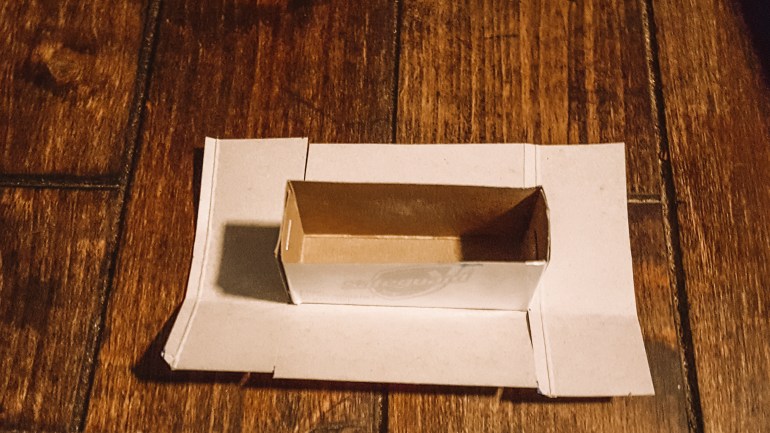
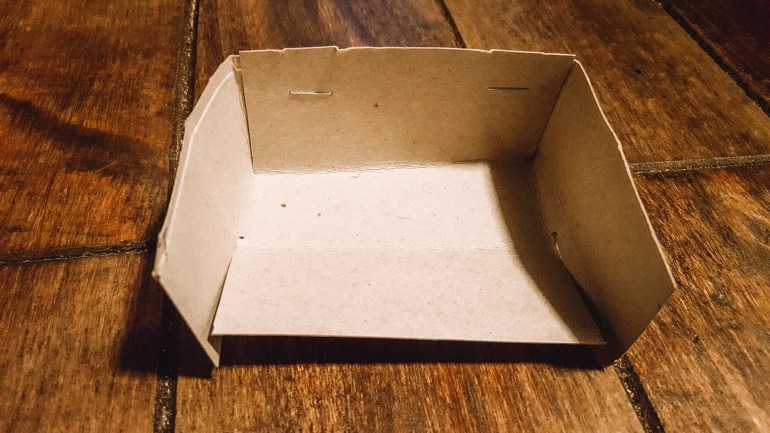
Begin folding, start with the slits, fold upwards to create easy creases. Assemble the box hold up one of the lengths, now hold the two sliced sides up and fold them so they touch the length side. Now staple or tape them together. Repeat on the other side.
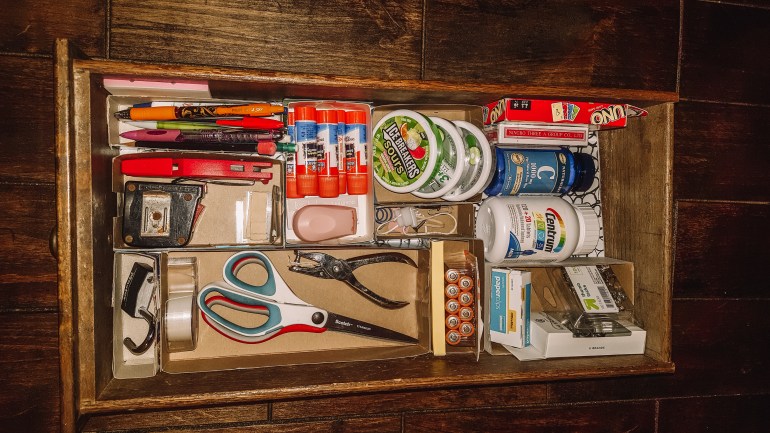
At the end of your project you should have all the items inside their own divider boxes inside the drawer. You may choose to leave some items without a divider box (as shown below). The last few larger items were left out of a divider box for me simply due to the fact that they were large in combination with running out of large enough cardboard pieces.
It is completely up to you either to cover or not cover the boxes with some type of decorative paper. I decided not to as I did not mine with the cardboard look, however, if you want to step it up aesthetically try scrapbook paper, contact paper, or even paint. At the end of your project everything should have a place and without a doubt there will be no more messy drawers as it is a lot harder to create a mess when everything has a home.
XOXO Faith

Love that idea I’ll have to try it out 👍🏻
LikeLike