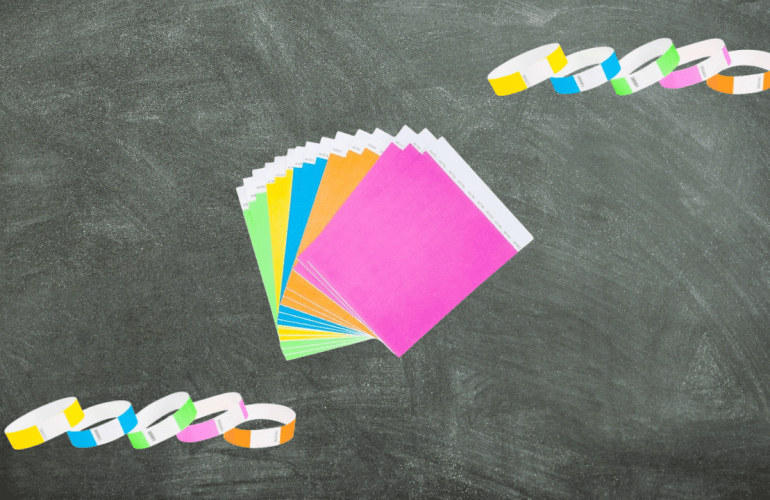
Over the past month I had been prepping for my first ever craft fair. In order to prepare there were a lot of things to create via printing, cutting and stamping. I decided to create all of my hang tags and packaging cards by hand to save money using card stock. My go to type of card stock to use is heavy weight 110 lb for hang tags and bow packaging: it is thick and will often jam up the printer. Printers rotate paper to print on paper but card stock this thick is more difficult to bend. Another reason to use the back tray is when you are printing on sticker paper. Sticker paper often gunks up my printer if I am printing multiple sheets. Instead of getting frustrated and wasting resources reprinting, I have been putting the rear tray of my printer to use.