Event #1
Last month I crossed off a major goal for 2025 and it was a bit bittersweet, my first craft fair event. People always recommend attending the event as a shopper prior to signing up as a vendor. Although that is great advice my patience meter did not want to wait an entire year before taking the leap and doing a craft fair. Lesson learned, the first craft fair, would have not passed the shopper to vendor test. The traffic flow was painfully slow, maybe one person or family per half hour. Location was not only difficult to see from the street but also unsafe with holes and dips causing people to fall. For some odd reason they decided to set the vendors behind a fence that was in the dirt/ dead grass which made it seem like a private event to the average passerby. If the event was held in the front parking lot I think it would have had higher traffic and been a lot safer for guests to shop.
One thing that was a pro and con was the ability to park behind our booth: while it was convenient to offload and load, it blocked the view from the street. Now it may seem like I am just focusing on the negatives so I just want to preference that the event holders were very nice and the other booths were very nice, there were just some things that could have made it more eventful for everyone involved. A big plus was a working bathroom for vendors to use! The last draw back that I want to touch on is the amount of crochet vendors in attendance, it was over 70%. Often hosts will limit the amount of each type of vendor allowed at a single event to create diversity for shoppers and give vendors a better opportunity to stand out. This first event I had a lot of family/ friends support which made it a success but I would not attend next year.
The details
- Booth Fee: $50
- Total Sold: $331
Items that sold:
- Alligator- $45
- Christmas Card – $5
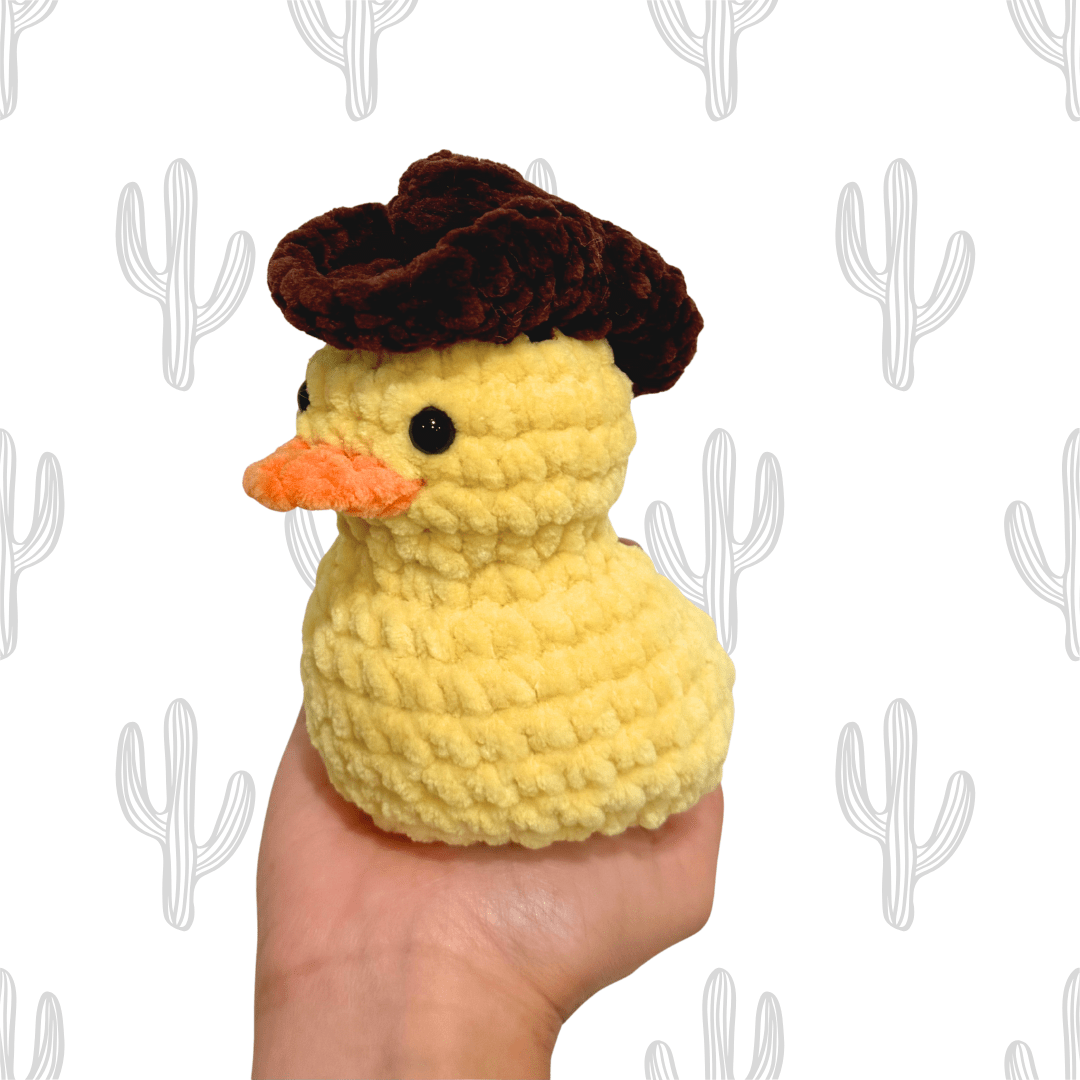
- Cowboy Chicken- $26
- Cowboy Duck- $18
- Duck Baby Halloween Costume -$45
- Great White Shark – $25
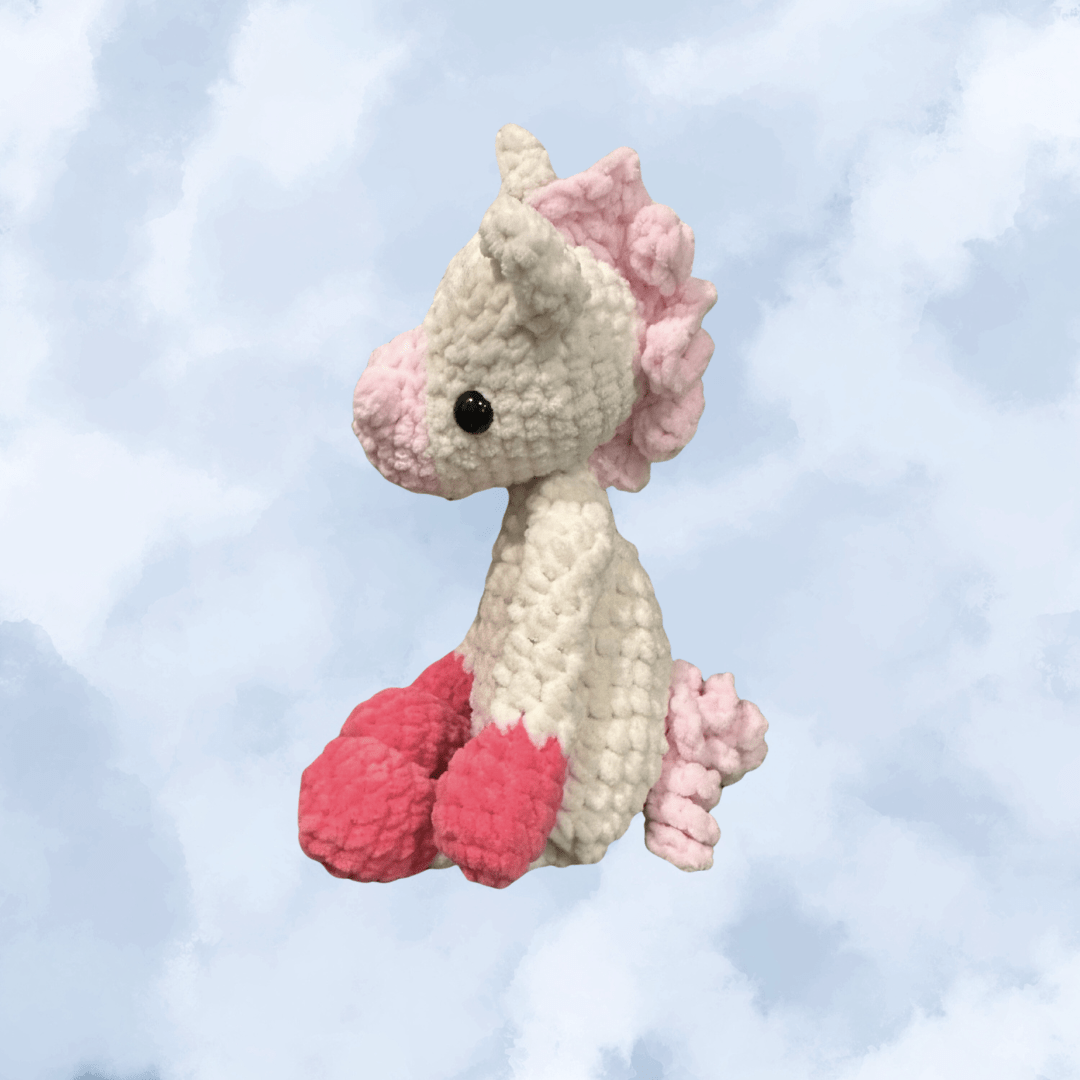
- Horse Pink/White – $42
- Pumpkin – $5
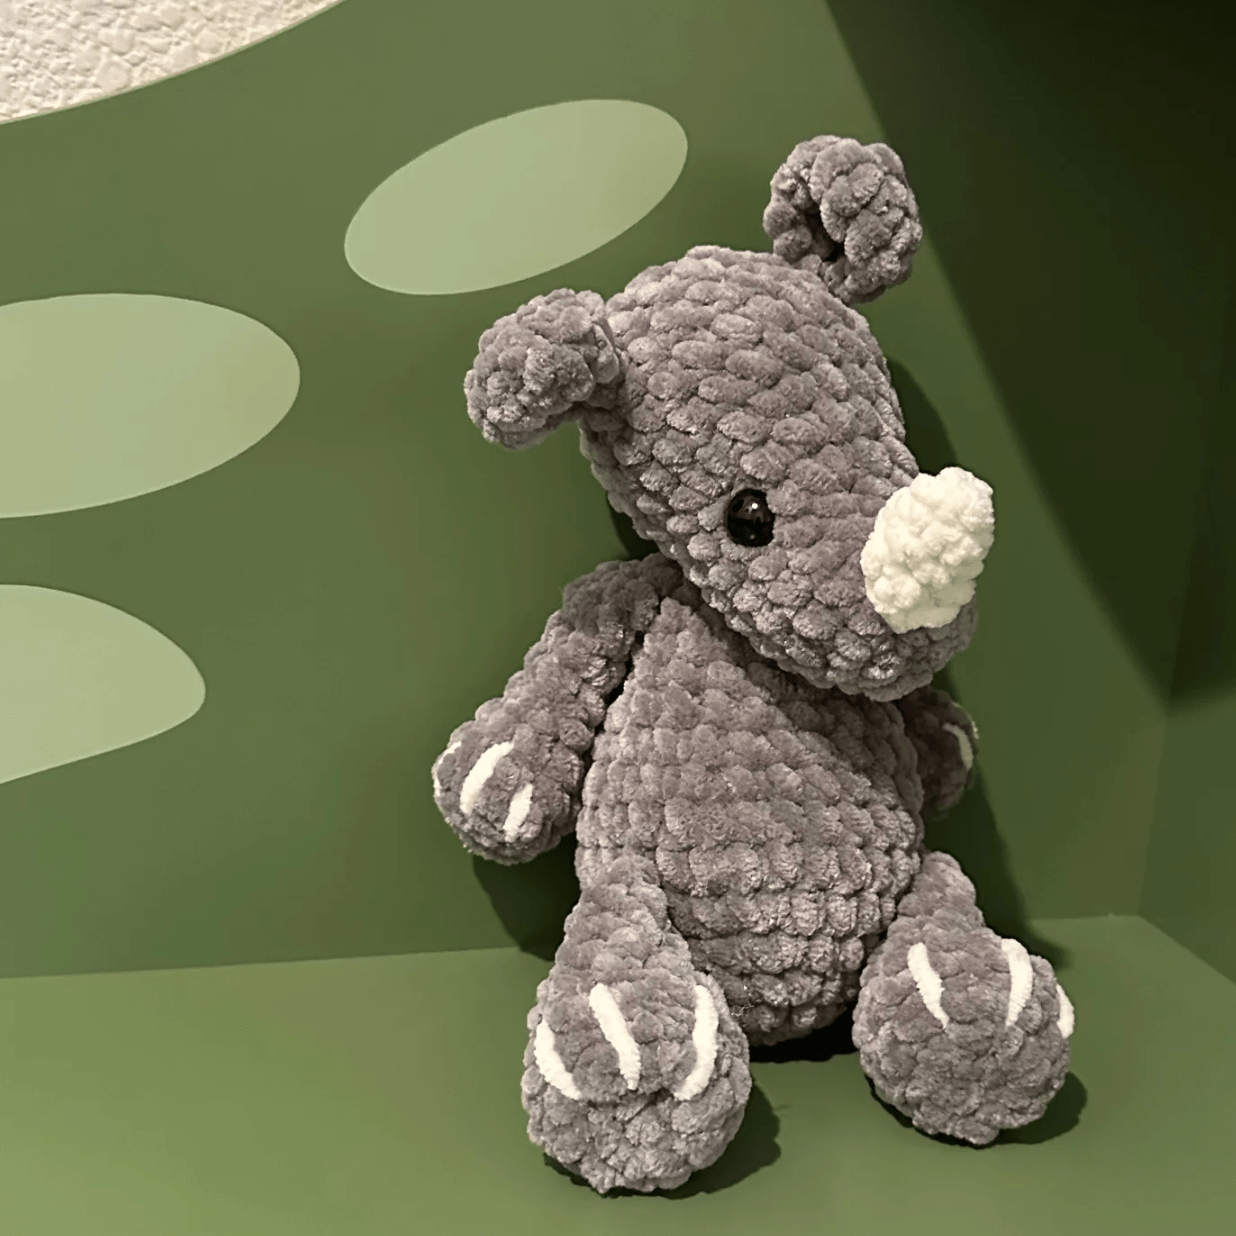
- Rhino – $30
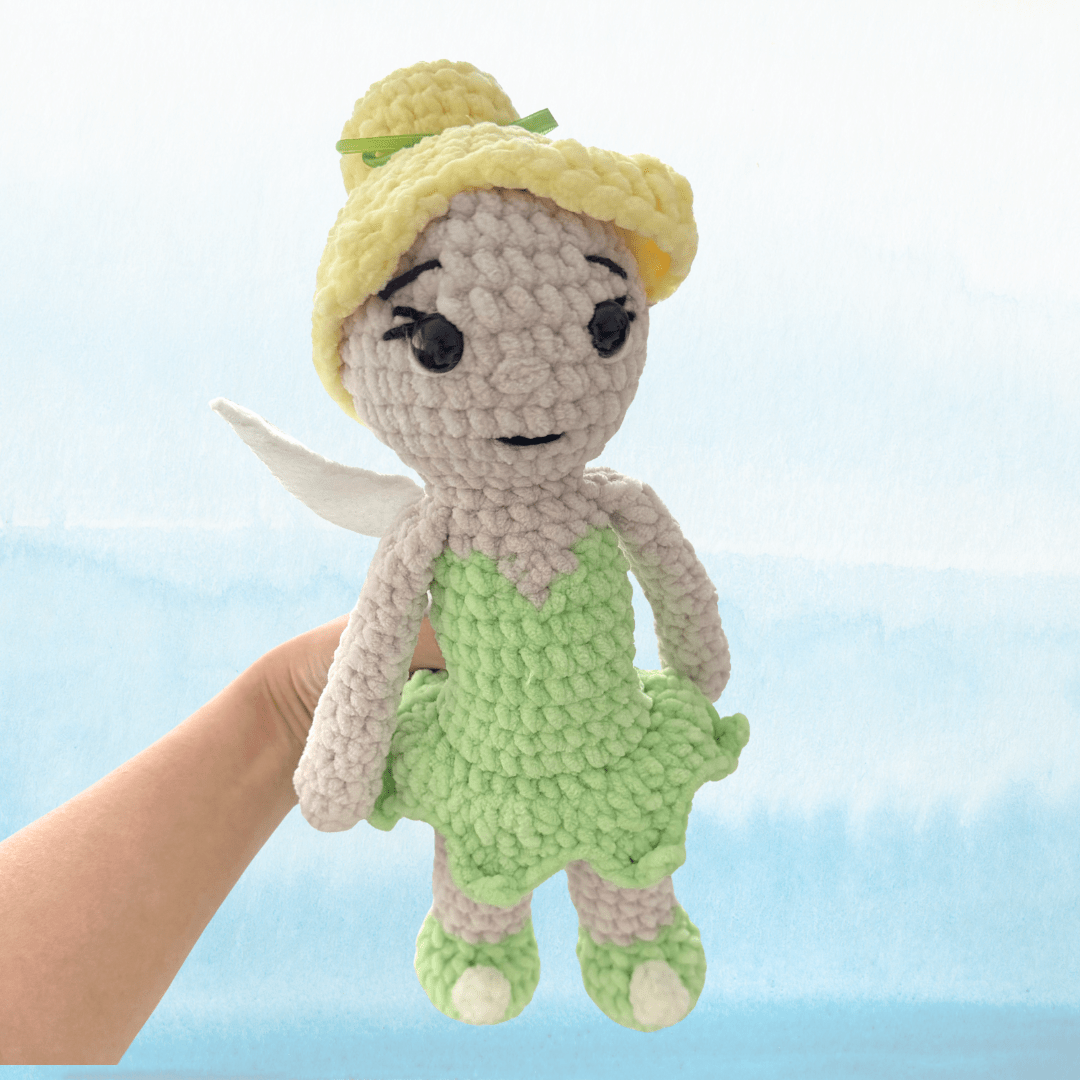
- Tinkerbell – $58
- Toddler Tie dye (3) – $12
- Toddler Turkey Tops(2) – $20

——————————————————————————————————————
Here is a list of things to look for when shopping an event if you are thinking about being a vendor there.
- Traffic. Are there a lot of people shopping the event?
- Location. How is the ground? Does it feel even? Are there holes?
- Diverse Vendors. The types of vendors are different, not everyone is trying to sell the same thing.
- Bathrooms. Is there only port-a-potties and are you okay with that?
What to ask the Host.
- How much is the booth fee?
- Is there wifi? (To use Square or do you need to use data/ a hot spot)
- Do you cap the amount of each vendor type?
- Where/ how far is the parking lot? (To determine if you need a hand truck/ wagon)
——————————————————————————————————————
Event #2
About a week later my sister-in- law told me about an event at a school. With a lot of my products being amigurumi I thought this would be a better fit. Yes, the foot traffic was a lot higher but this event was also a flop for me. This was the first time this specific event decided to include vendors and it made things a little confusing. Prior to the event the school sold tickets to use at the event but not for vendor booths which is fine. The issue with this was the fact that the ticket areas were not sectioned off to a certain location making the average customer confused as to what and where their prepaid tickets could purchase. They created a bingo card that required people to visit each booth to win some prize but most kids were by themselves and just wanted the stamp. Letting your five, six year old go around a public event alone is crazy to me but every parent is different I guess. The wind required two people to hold the canopy poles to keep it from flying away. We would have bought hot cocoa or coffee from the event but it required the tickets. Meaning we would have had to go to the main entrance to find someone to sell us tickets to just buy a drink. Umm… no thank you.
It was almost comical when the fire alarm went off and we were told to leave all of our stuff behind to wait for the fire department. It was literally in God’s hands as to if someone would steal my merchandise or not. I am all for safety but the reason for the alarm was so irritating. Someone thought it was a grand idea to use a fog machine inside of a classroom for the haunted house. IT’S A SCHOOL, what adult was like oh yeah that’ll work fine! The response time was about 15 minutes because it was a weekend? I hope. Seemed a bit too long for me if this was an actual emergency. Already in a salty mood, the Kona ice truck was blasting the same five tunes for the entirety of the event. It is something we laugh about now but man it made us mentally drained.
For this event, I decided not to take the giant wire closet storage rack because it is a pain to set up. The first event we drove with it already assembled which was fine for a close event but this second one was more of a drive so we did not have to be cramped up. I decided to try out a wire grid system which is very compact. The grid worked out very well but I would recommend splurging on more hooks. Also stick with a predetermined design so others can help. I ended up going rouge and stressing myself out.
The details.
- Booth Fee: $36.35
- Total Sold: $56
Items that sold:
- Duck Ballerina – $18
- Duck Gentleman – $18
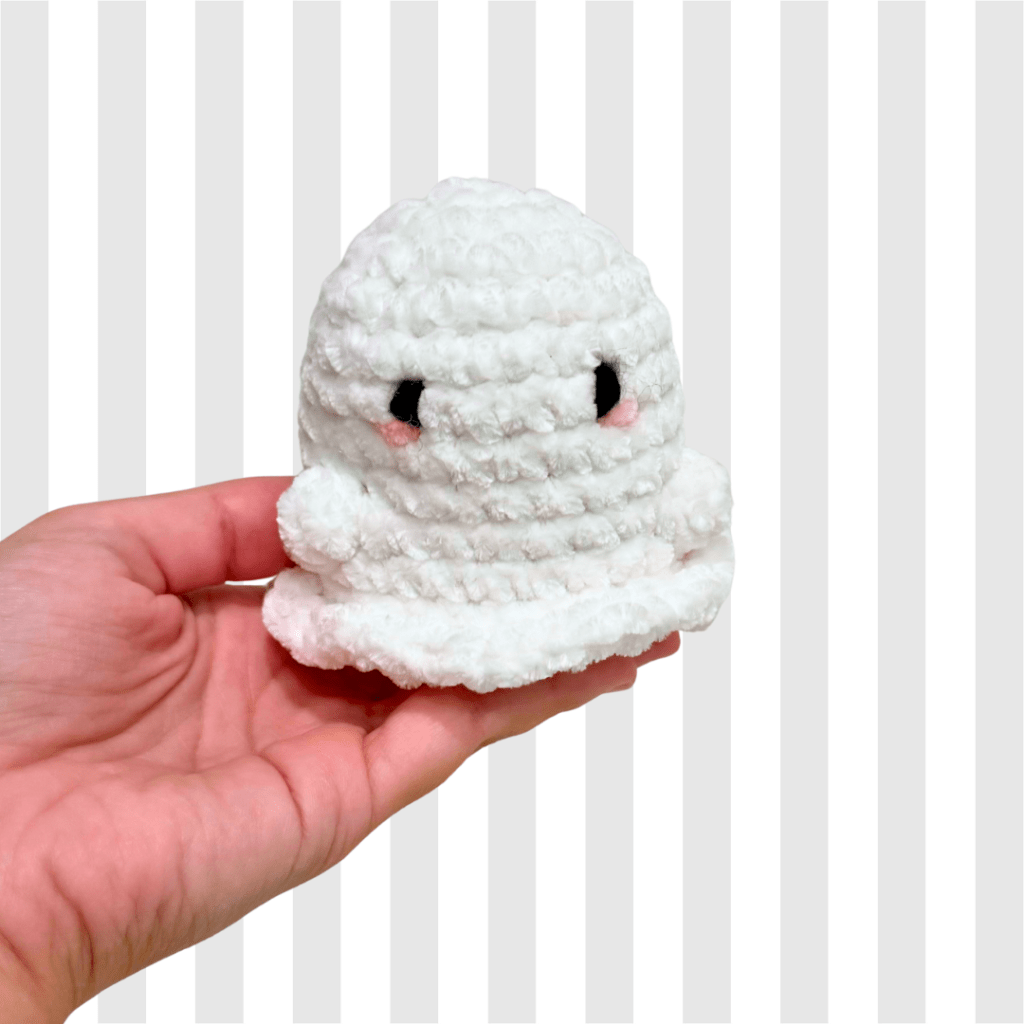
- Ghost (2) $20
For both events my set up was really great so I will do a part two showing you everything I used for each set up. To see each of my booth displays watch the video below. Also if you see something you would like to purchase, you can shop everything here or a few items listed on Etsy. Honestly, I did not enjoy the market experience and do not want to try again. I am horrible at marketing myself but I think my products are very good. Etsy gives me the ick because you have to drive your own traffic so why not just create your own site? Does anyone have any tips or advice on where to go from here?