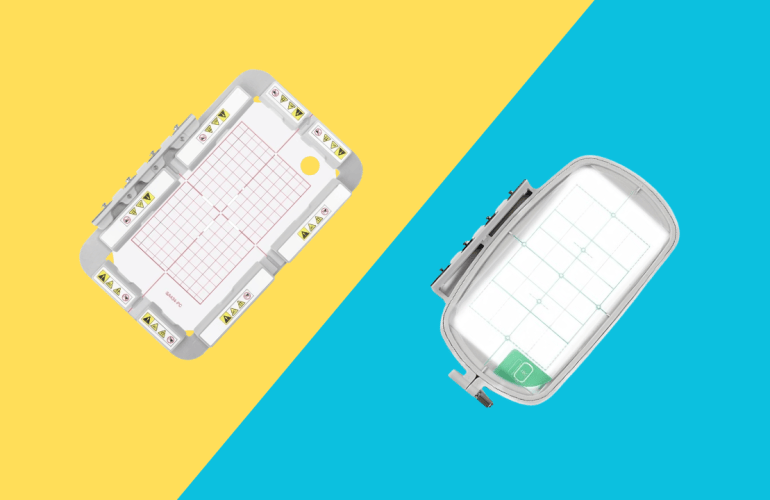
Recently, I tried our first ever magnetic embroidery hoop which was amazing. Can you believe the company reached back out offering to send me ANOTHER magnetic hoop? At first I thought it was a mistake but they wanted me to review another hoop of my choosing. This time I selected their magnetic multi-position hoop. The multi-position hoop really increased my project creativity scope so why not add another to my tool box. Team, no more wrestling the front hoop and screw.
I want to first address the fact that all opinions are my own. The company did not say I could only talk about the positives nor are they paying me to post this content. There is no contract just the understanding that I would review the product in a video format.
Since this is not my first time using a multi position hoop I dreamed up this beautiful holiday project to use for the review. After three attempts at my pretty ballerina nutcracker appliqué towel, I decided to pivot to a comparison. I started to wonder if the hoop had odd dimensions making it impossible to line up.
For this test I was examining three main factors. First hooping easibility. This one goes to the magnetic hoop: I always struggle pressing that darn top piece into the standard embroidery hoop. Second, is stability when hooped. In the video you will see the tug test in action even with a limited amount of magnets. This one is a tie because the stand hoop also does a great job keeping everything in place. Last up, stitch out success. After changing the project file they both had successful stitch outs so its a tie. With the ease of hooping being the main difference I believe it is enough to take the leap and invest in a magnetic hoop for your machine. Trust me you’ll thank me. The one thing to be wary of is pinching your fingers in between the magnetic hoop base and the magnets themselves. They are really strong!
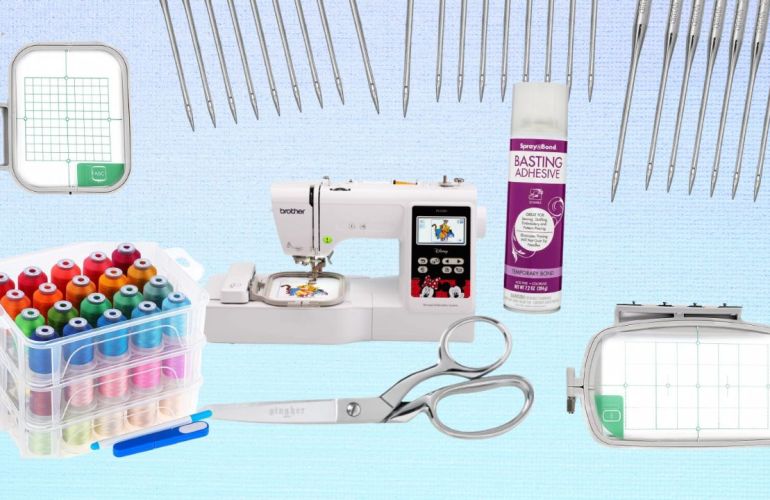
Every machine embroidery enthusiast needs embroidery hoops. If you are just starting out you will most likely only use the one that came with your machine. Having more than one hoop can speed up your project time by being able to hoop while another design is stitching. Try branching out and using a sleeve hoop or a multi position hoop. My multi position hoop really pivoted my viewpoint on if I needed a larger machine.
Sharps can be intimidating, there are so many brands and types of machine needles on the market. My favorites are from the brand Organ Needles but also keep in mind if your needle is causing you trouble you may need a different type of needle for the specific type of material you are embroidering on. Another set of needles that are essential to have in your stash are hand embroidery needles and a seam ripper. When, not if, your design stitches out a little wonky, but not enough to scrap the entire project you can add or remove a few stitches.
Pins are a dime a dozen, use whatever you have or buy generic ones. I prefer quilting pins simply because they are longer which is great for blankets and keeping excess material from the field. Storage for needles and pins can be fun. Get creative, make your own or opt for one that puts a smile on your face. I love my snap bracelet cushion, not only its practicality of being literally attached to me, but also for the memories it holds. Magnetic pin holders are great for fast clean up but reaching into your sewing bag can be like stumbling onto a land mine.
Thread
Often thread gets overlooked but it is necessary to test out which ones work best for you. More expensive does not equal better quality. For example, my Sulky thread vs New Brothread: New Brothread is not only affordable, but an amazing quality thread. Make sure to upgrade to a thread that has a snap bottom to keep your thread box nice and neat. We can’t all live the luxe life of having an expansive craft room with every thread color imaginable on display so snap bottom it is. Hate winding bobbins? Buy them in bulk. Save the empty spools to rewind with various colors or even to use with your sewing machine if yours are the same like mine.
Stabilizers & More
Do not skip out of the stabilizer. It helps keep your material in place, adds structural stability to the material and can even prevent stitches for getting lost in the fuzz. My favorites are cut away and water soluble stabilizer. Save yourself some time and space by getting a precut pack. Another material to keep close by is a roll of Tender Touch. Tender Touch is a mesh material that irons onto the backside of your embroidery. Most commercial embroidery shirts, sweaters etc. use this to lock in the stitches as well as protect the skin from irritation.
Appliques
If you are doing machine embroidery you’ve probably stumbled across an appliqué file or two. Some tools that can make or break a design are Heat N’ Bond, basting spray and a curved pair of scissors. To pair with the Heat N’ Bond I recommend investing in a mini heat press. I use the Cricut mini press and medium Cricut protective heat-resistant mat which is perfect for ironing all of the small scraps I use for appliqué. The Heat N’ Bond glues the appliqué to the base as well as prevents all of the edges from fraying. Once your appliqué material is prepped, spray some basting adhesive to the back to keep it from moving while stitching. Never use your fingers to hold material in place inside of the stitching field, that is how emergency visits occur. A needle through the finger, no thank you. The curved scissors make trimming the excess material a breeze after the tack down stitch. They allow you close access to the line and a wider range of mobility.
Scissors
I already touched base on my MVP (most valuable pair) the curved scissors. Other types I keep on hand are the basic thread scissors. A nice pair of dressmaker sheers, if you are making blankets or larger sewing projects and add in a pair of pinking sheers to prevent frayed edges. The last pair of scissors I enjoy having in my craft bag are titanium rag snips. While the name is a bit misleading these guide through bulky fabric with sequins, leather, suede and more. Your hands will thank me.
Click here to view all of my favorite essentials to add to your craft cart/bag. Disclaimer: I do receive a small commission from Amazon if you shop through my links.
What is your favorite machine embroidery essential?